- EaseUS Freeware
- Free Data Recovery Software
- Free Backup Software
- Free Partition Manager
Updated on 2023-08-03
Applies to: EaseUS VoiceWave
Real-time voice changing is in high demand among a variety of users, including gamers, educators, YouTubers, and active members on platforms like Discord, Roblox, Skype, and more. To cater to this need, numerous voice changer tools have emerged on the market, offering real-time voice manipulation capabilities. Among these tools, EaseUS VoiceWave stands out as a reliable option for achieving seamless real-time voice changes.
This article will guide you through the process of setting up EaseUS VoiceWave on various third-party platforms, empowering you to enhance your audio experience across different applications.
- Discord
-
Step 1: Find and click on the "settings" button.
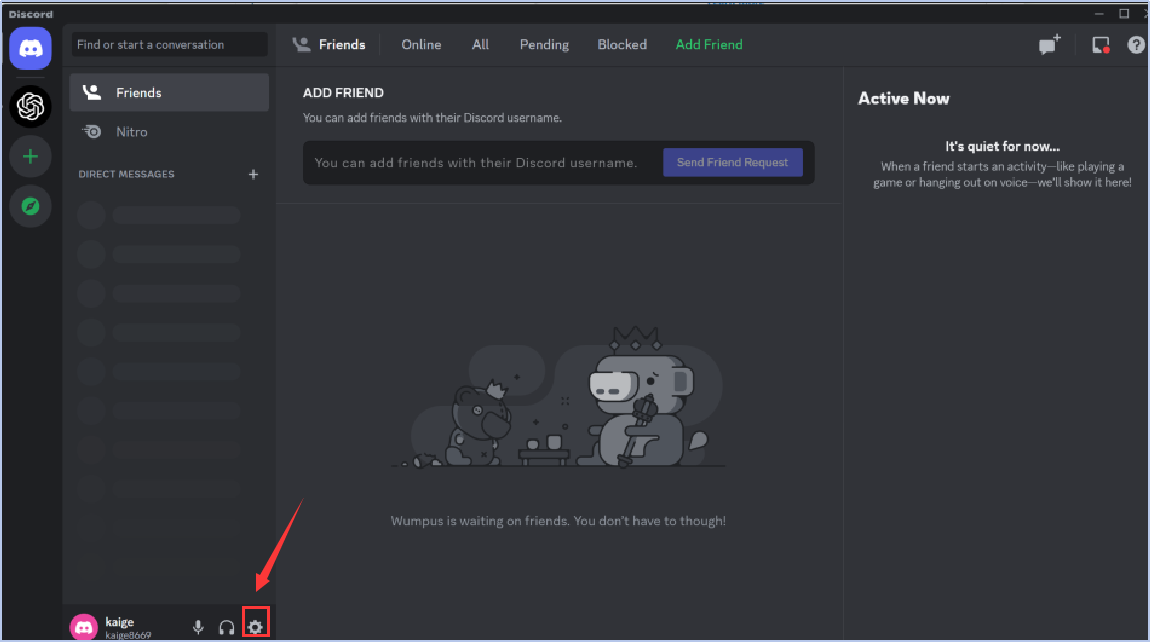
Step 2: Locate the "Voice & Video" section and choose VoiceWave Microphone as your input device.

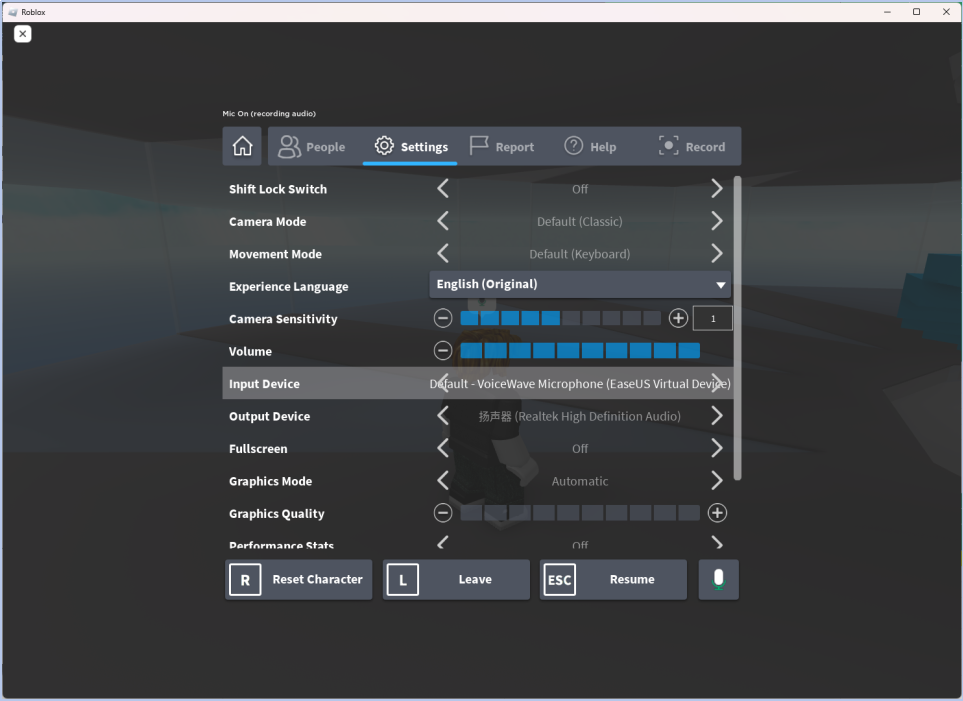
- Roblox
-
Step 1: Look towards the lower-left corner of the screen. You will see a gear icon, typically labeled "Settings." Click on this gear icon.
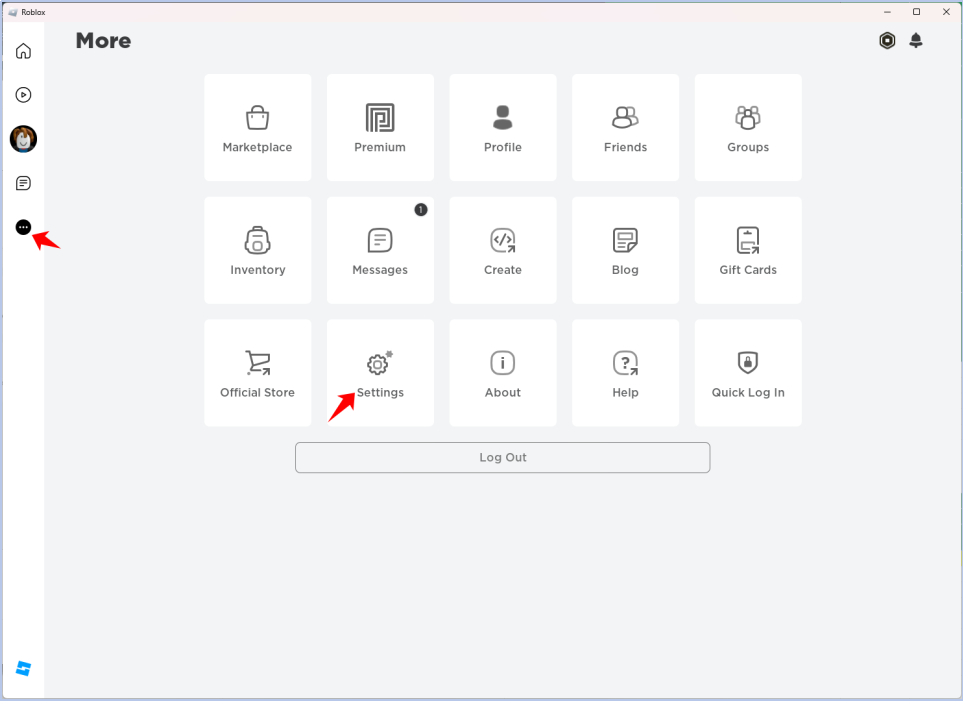
Step 2: A drop-down menu will appear, presenting you with various options. From this menu, select "Settings"- “Input Device”-”VoiceWave Microphone”.
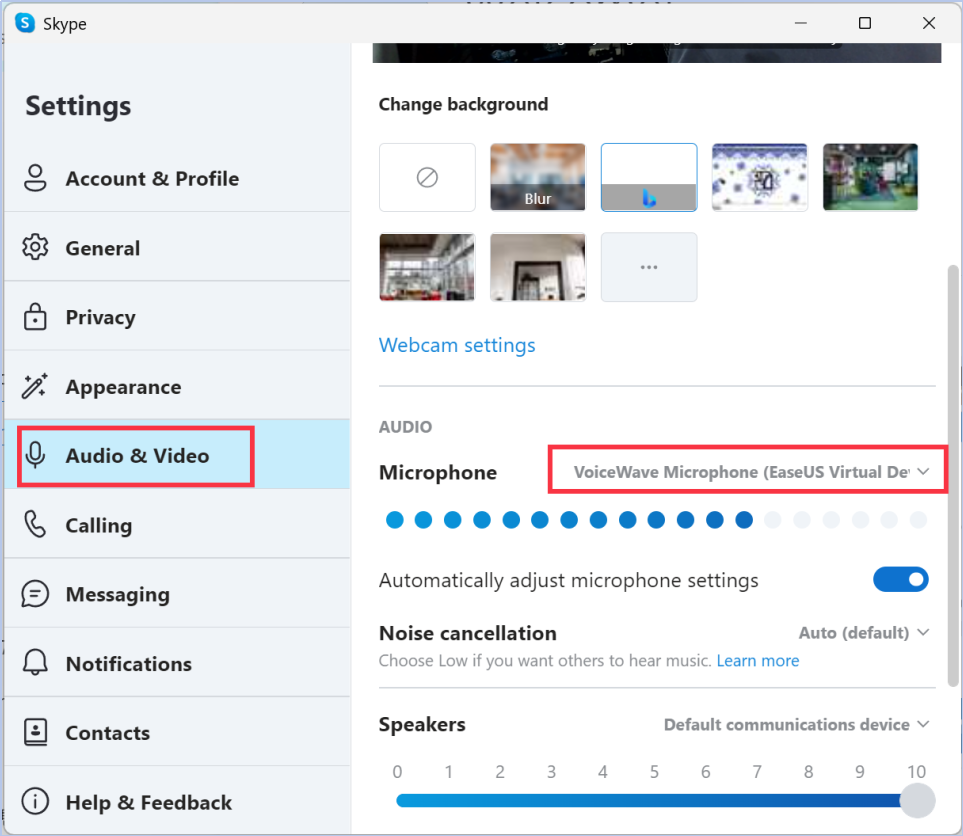
- Skype
-
Step 1: In the top-left corner of the main window, click on your profile picture. From the drop-down menu, select "Settings".

Step 2: Locate the “Settings” button and select “VoiceWave Microphone” as Microphone.
- Valorant
-
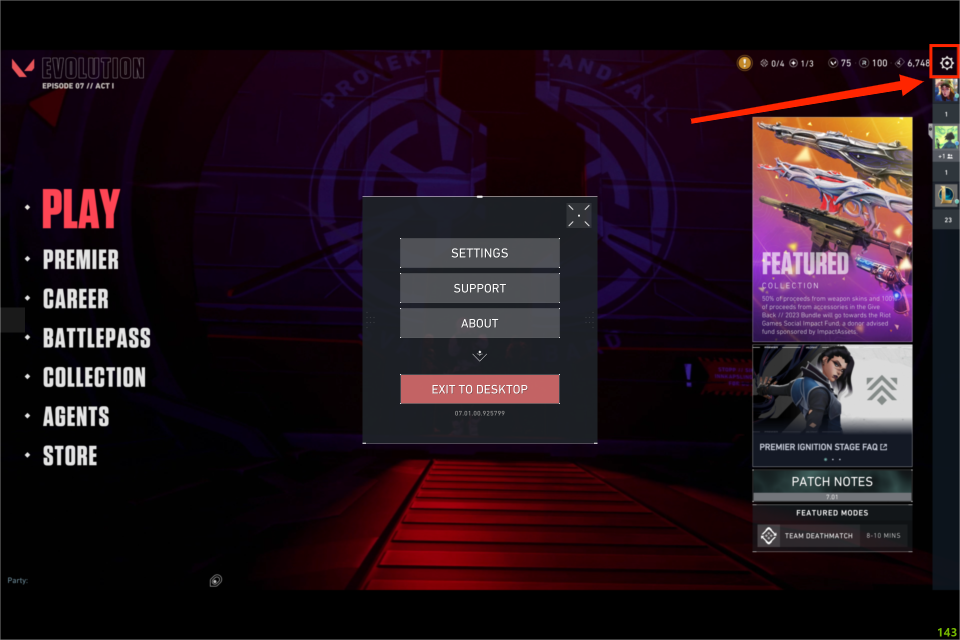
Step 1: Once you are in the main menu, look towards the top-right corner of the screen. You will see a gear icon. Click on this gear icon and choose “Settings”.
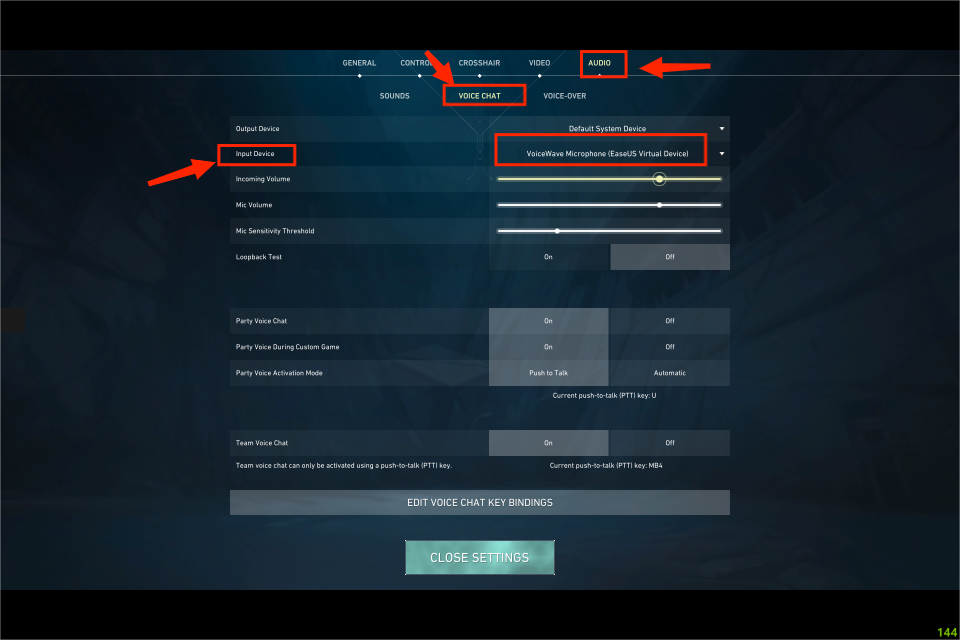
Step 2: Navigate “Audio”from the menu and select “Voice Chat”. Set “VoiceWave Microphone EaseUS Virtual Device” as Input Device.
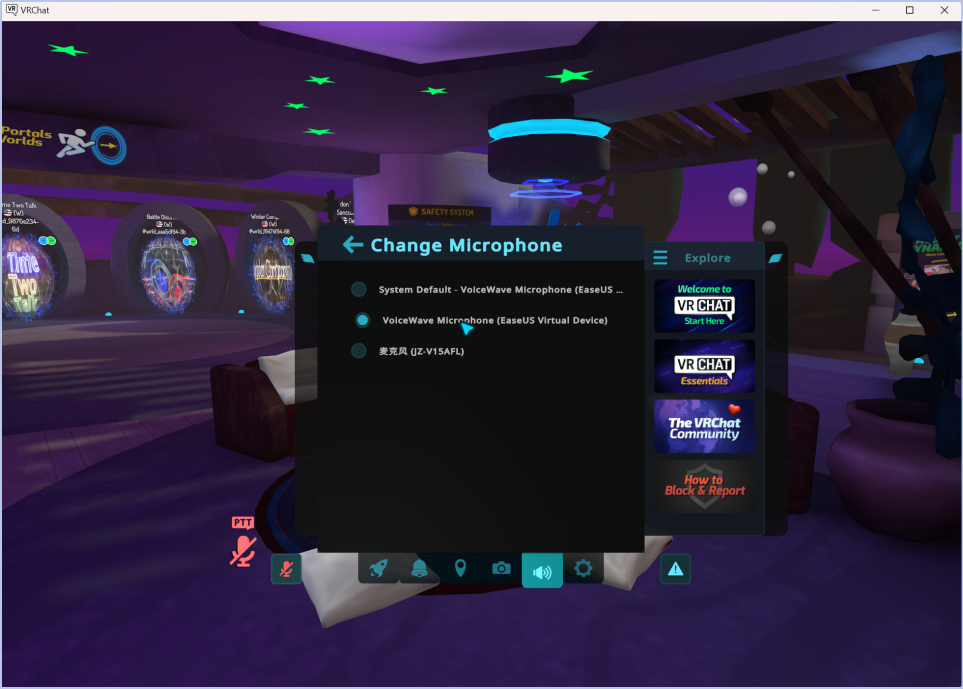
- VRChat
-
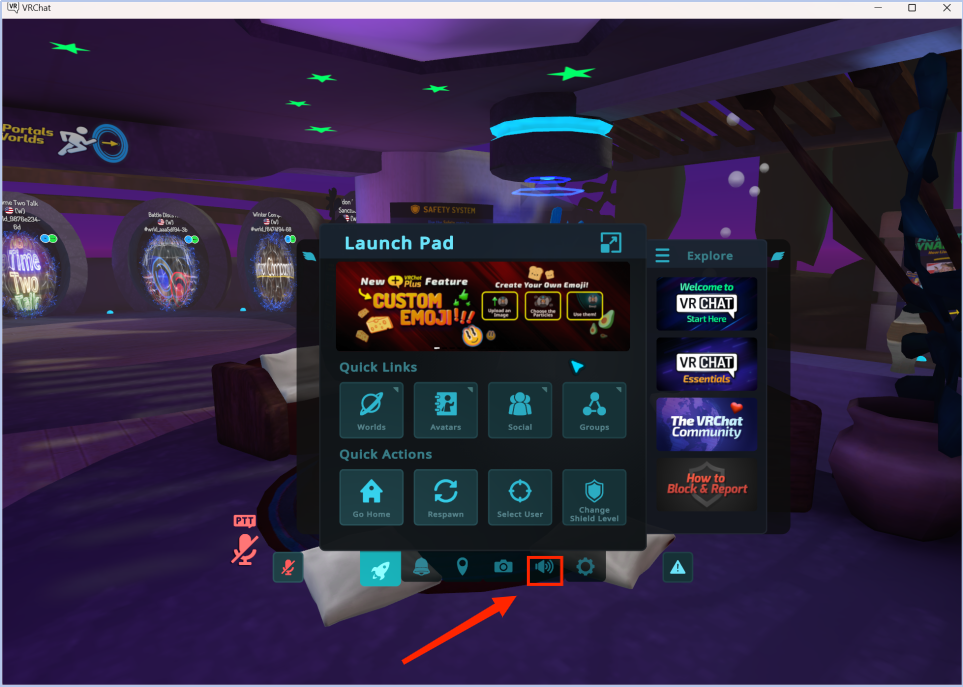
Step 1: Once you are in the VRChat application, put on your virtual reality headset if you are using one. In the virtual world, bring up the quick menu by pressing the "Menu" button on your controller or by using the corresponding keyboard shortcut (usually the "Esc" key).
Step 2: Click on the Audio icon to bring up the audio settings menu.
Step 3: Scroll down until you see the “Microphone” icon.
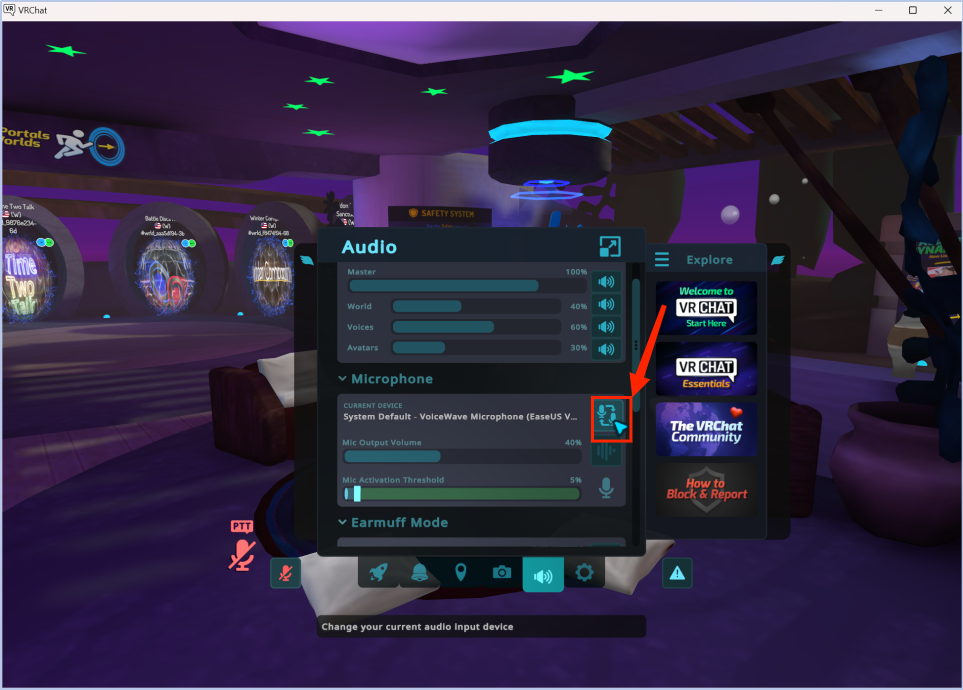
Step 4: Select “VoiceWave Microphone EaseUS Virtual Device”
-
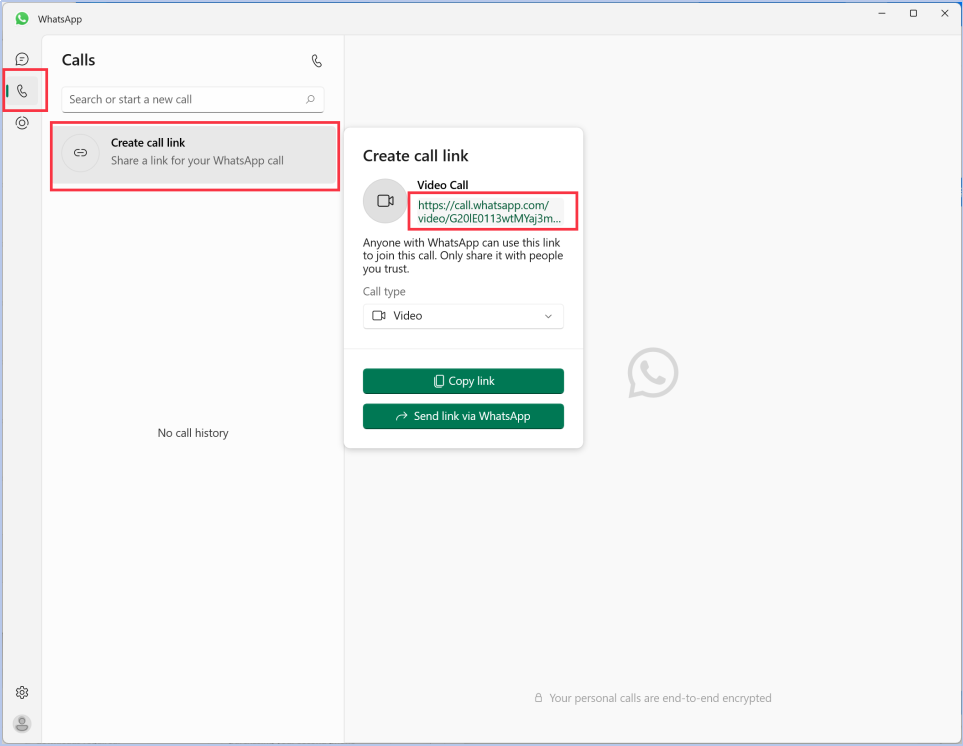
Step 1: Go to the Calls tab, create a video call link and click on that link.
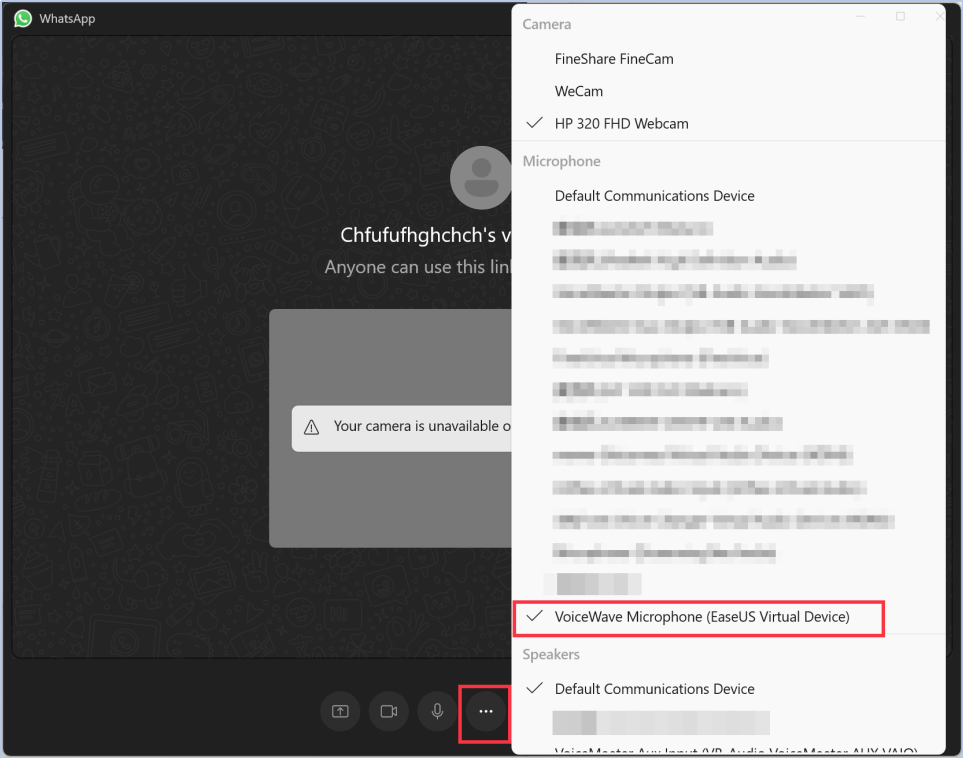
Step 2: Locate the “...” button and select “VoiceWave Microphone(EaseUS Virtual Voice)”
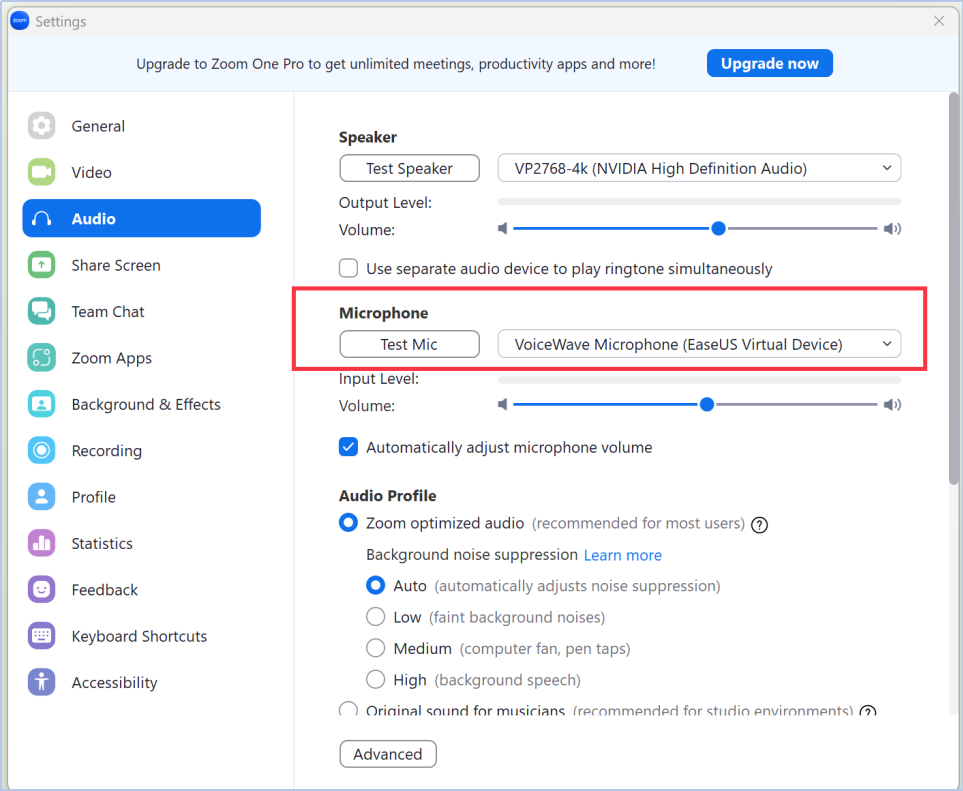
- Zoom
-
Step 1: Locate the settings icon located in the top right corner and click on it.
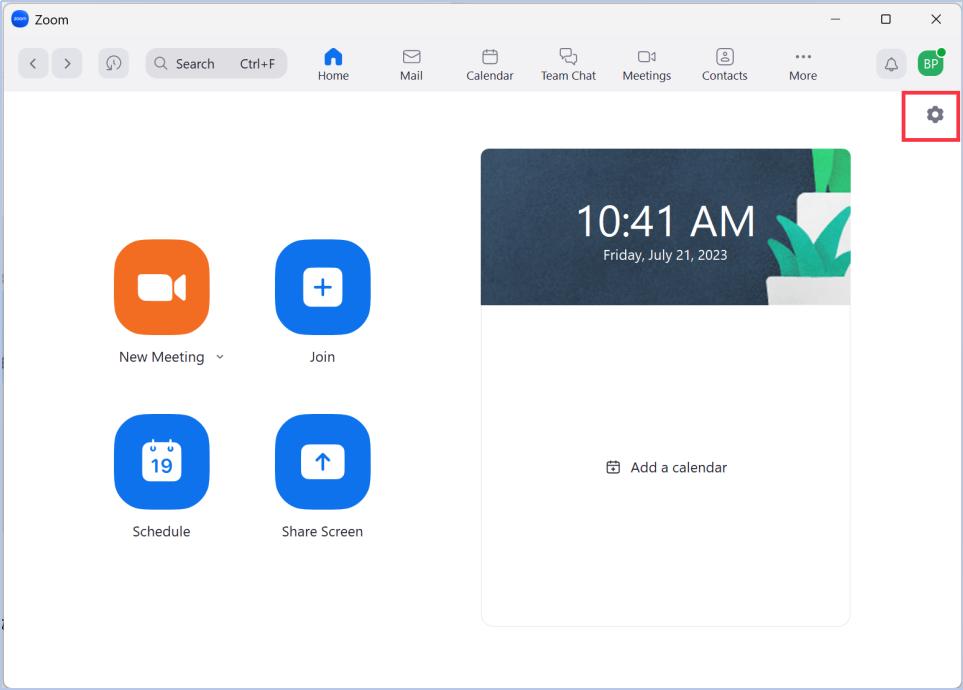
Step 2: Look for the "Audio" option and navigate to the Microphone section. From the available options, select EaseUS VoiceWave.
Was this article helpful?