- EaseUS Freeware
- Free Data Recovery Software
- Free Backup Software
- Free Partition Manager
Updated on 2013-05-07
This article applies to:
EaseUS Data Recovery Wizard for Mac

Introduction
Upon completion of the scan, you will find the need to recover a selection, or even all, of the files from the massive scan result. However, you might have some similar situations listed below:
1. It's time to do something more important but you haven't fully recovered your lost data.
2. A huge amount of data is listed and cannot be saved at one time.
3. The storage space is not enough for data recovery and you need to find an alternate drive.
With this guide, you are able to save the scan session with a few mouse clicks and resume the previous recovery directly without having to rescan the drive.
Note:
1. The saved scan result could only be used on the same machine, where you performed the scan and recovery. It will not be usable if you change a machine.
2. It is recommended to use the scan result as soon as you can, as system changes or prolonged delay probably might make the scan status unusable.
What can I do with this feature?
This feature helps you avoid a rescan next time if you want to continue the recovery from the same hard drive.
How can I save the scan result?
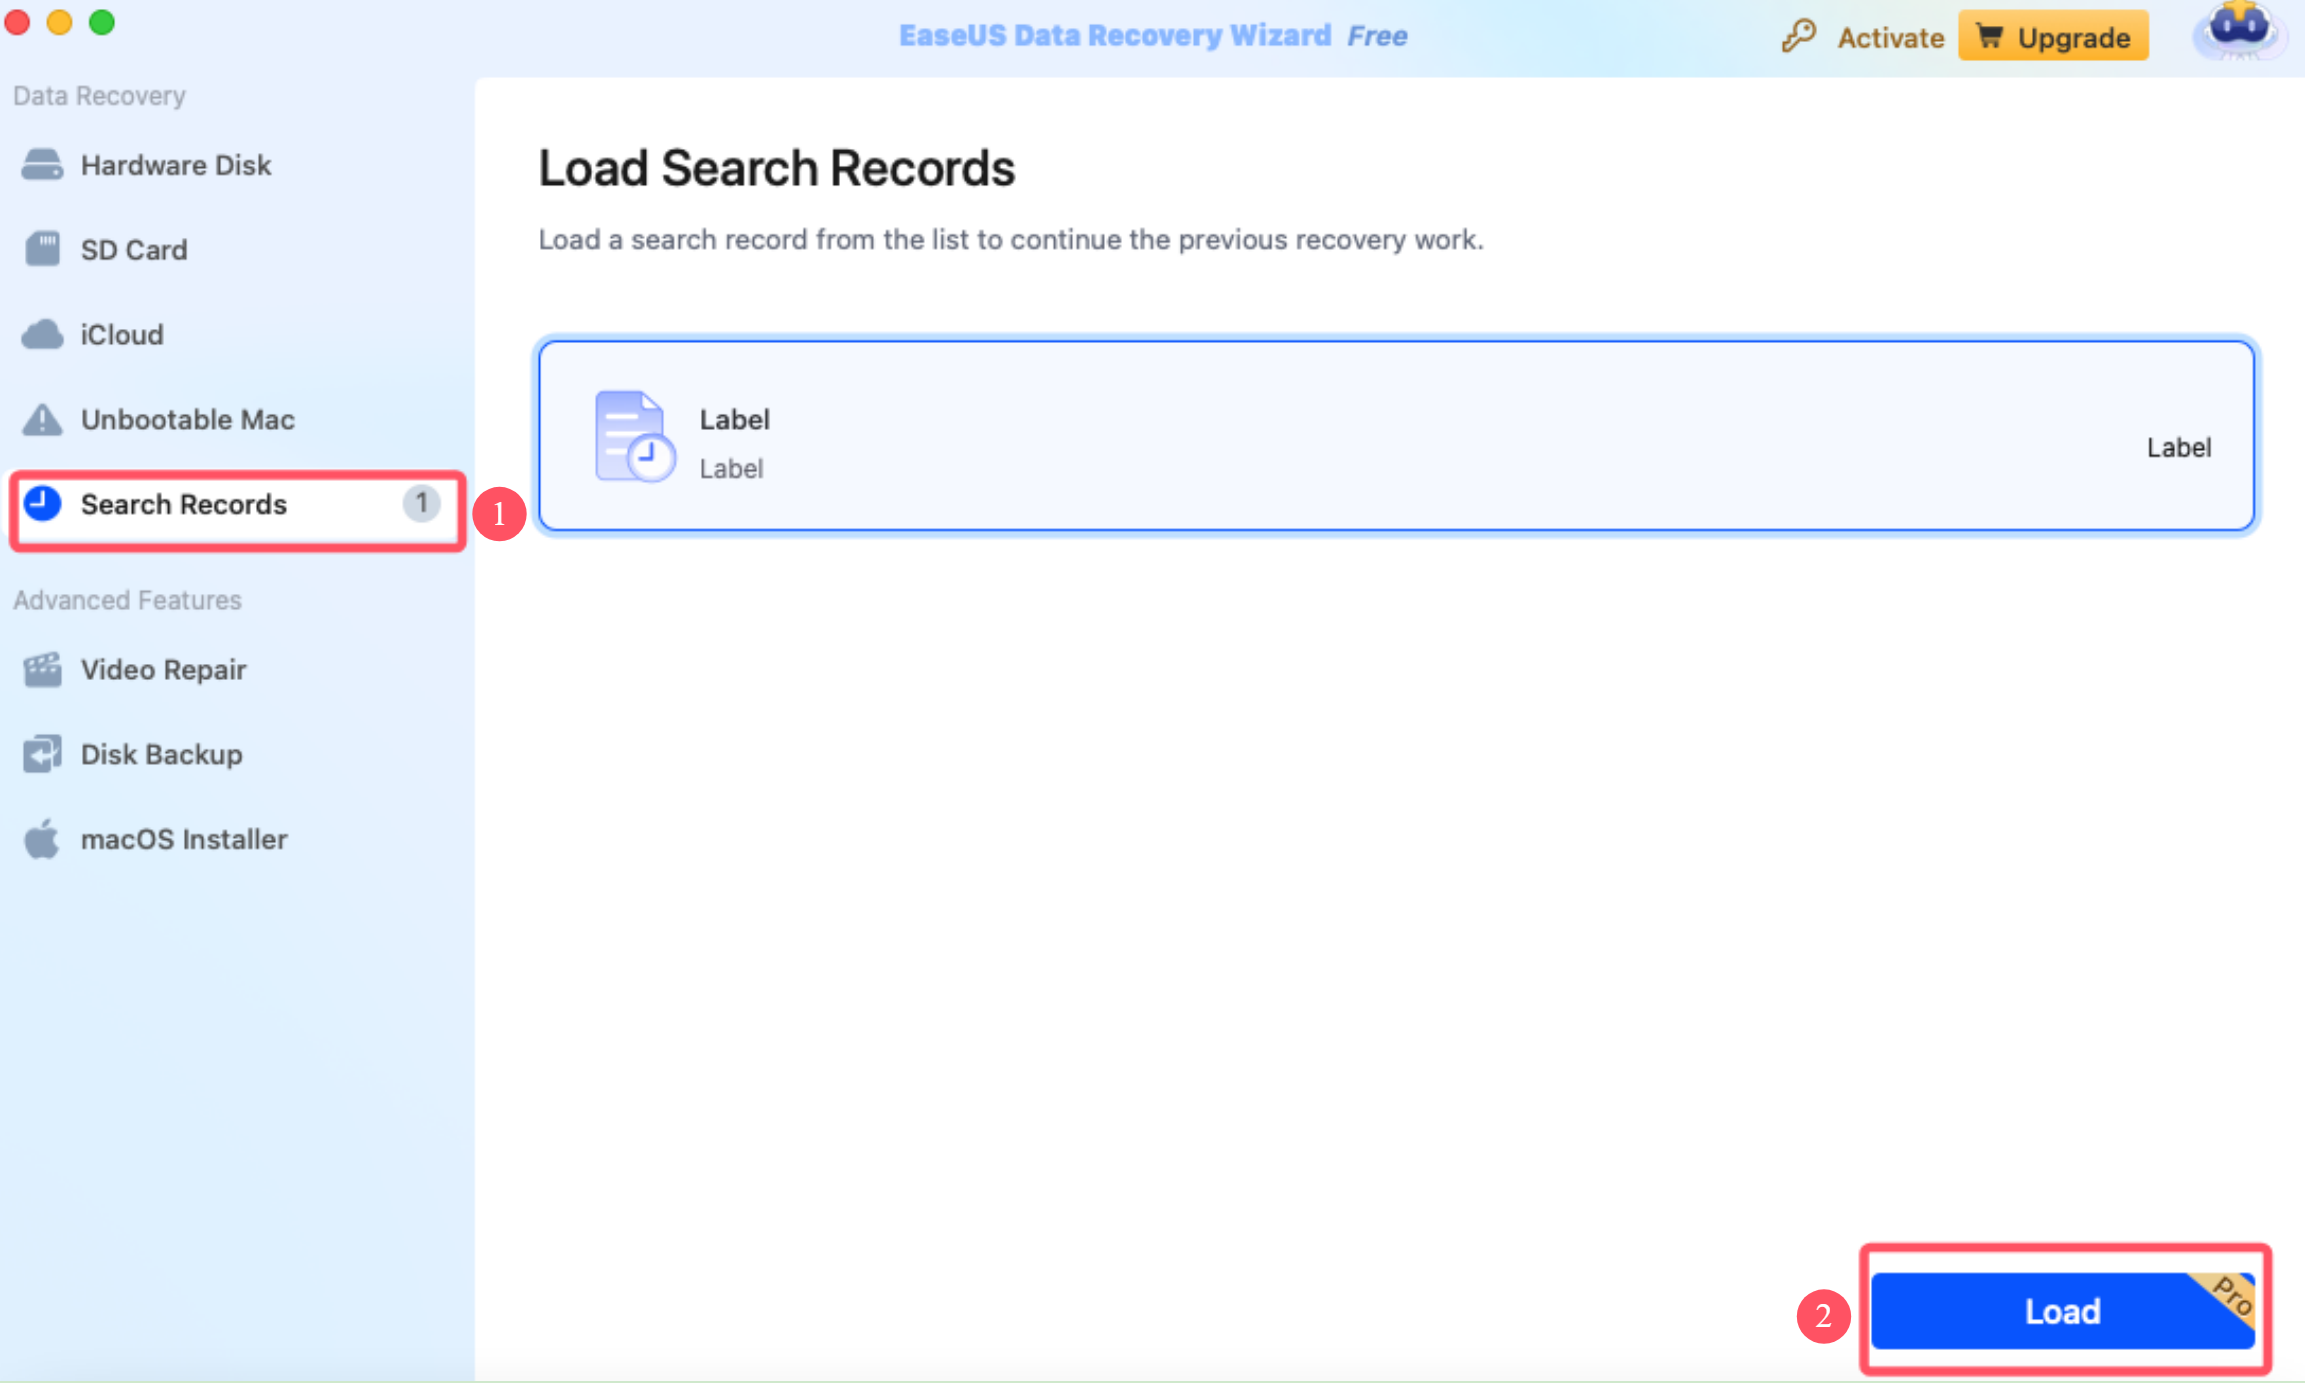
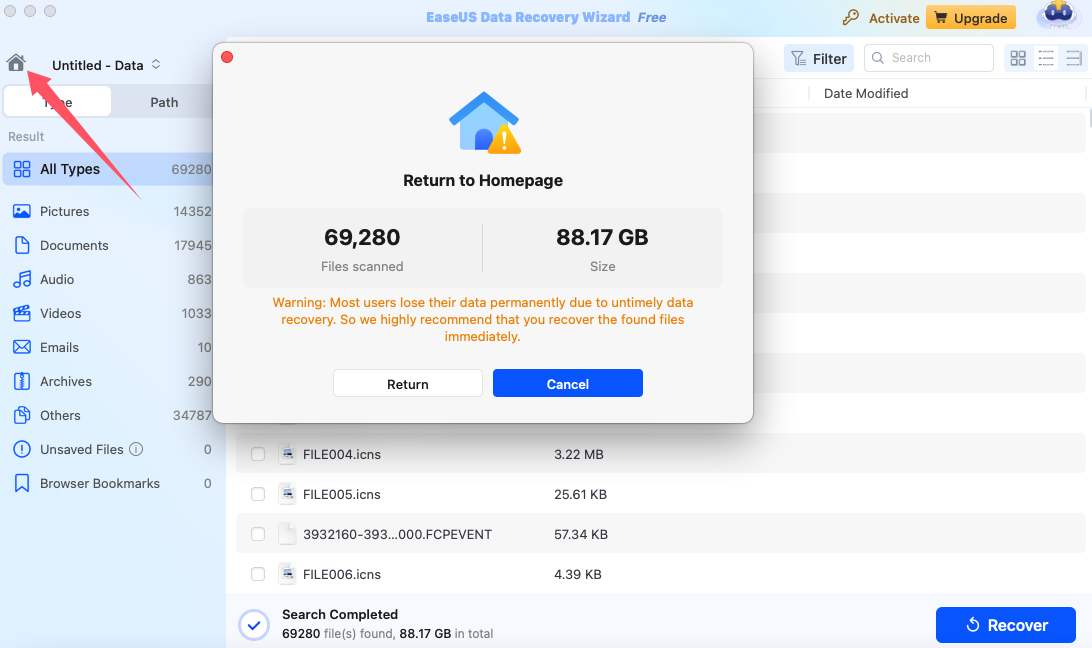
After the scan is finished, every time when you click the Home button on the top-left corner of the program or close the software, it will automatically save the scan result and add it to the “Search Record” section.
Where can I find the exported scan result?
You will find the "Search Records" tab displayed on the left column of the program home page. Click on the tab, select the appropriate scan result, and click on “Load” to continue the previous recovery.